Cleaning is a household chore that we can’t really afford to neglect – whether it’s hoovering the carpet or wiping down kitchen surfaces. In the case of your home’s walls, it might not be clear how to proceed: but they surely need cleaning once in a while.
Whether you’re dealing with a sudden splatter or an accumulation of grime that’s built up over months and years, it’s important to use the right cleaning equipment and techniques. Let’s run through a few of them!
Why Clean My Walls?
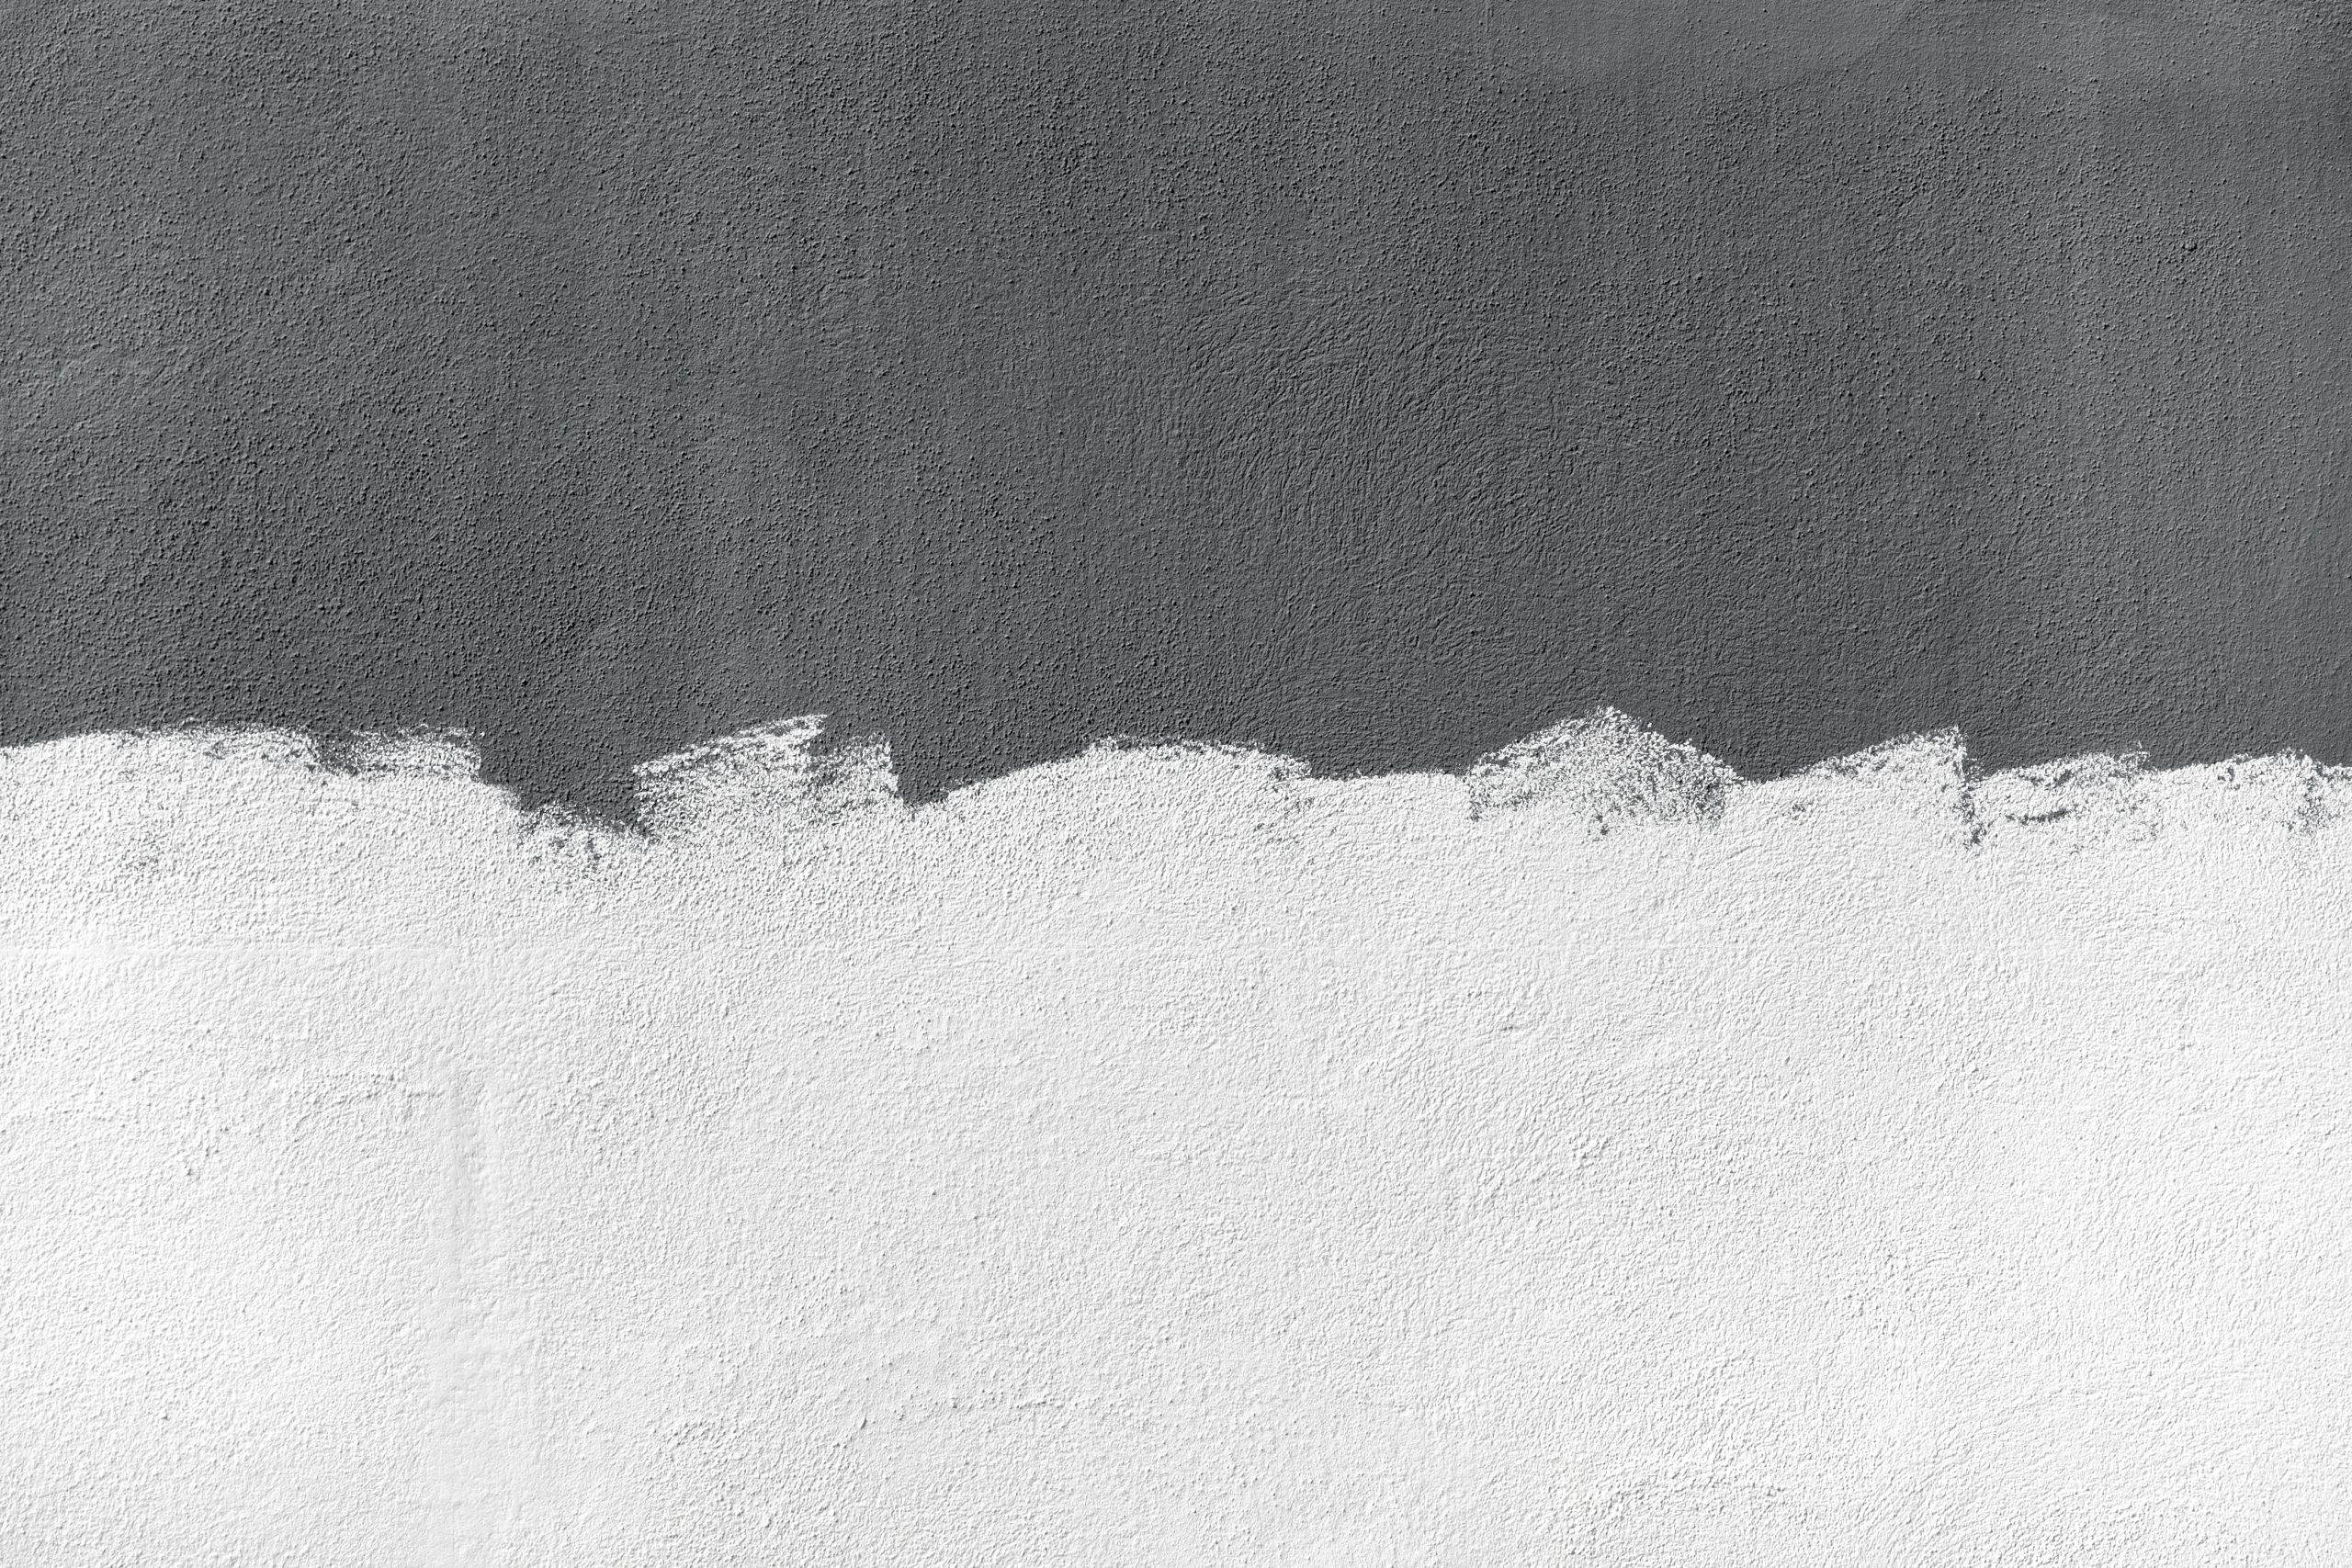
Photo by Samuel Zeller on Unsplash
Clean Walls before Painting
Before you apply a fresh coat of paint, you’ll want to get rid of any dirt and oil. This will ensure that the new coat of paint adheres properly to the previous one.
Clean walls before moving out
Before you move out the house, you’ll need to clean. This will help you to sell the property, or, if you’re renting, to get your deposit back from your landlord.
Clean walls after sanding
If you’ve just sanded your wall, perhaps after applying a dollop of filler to a crack, then you’ll need to clean it before going any further. This will prevent that stray plaster dust from nestling into the carpet or getting mixed up with your paint.
Cleaning walls in the bathroom
The bathroom is one part of the home where sanitation is crucial. When moisture settles onto your walls, it provides a breeding ground for harmful pathogens. It’s possible to counteract this by using specially formulated silk paints, which repel moisture more capably than matt ones and allow for more regular cleaning.
Cleaning walls in the kitchen
The same problem applies to your kitchen, except that the steam you generate there will also contain tiny particles of food. Thus, over time, kitchen walls will need cleaning just as urgently as bathroom ones.
What to Clean Walls With
Let’s look at some popular cleaning materials, many of which you might have lying around the house and consider which might be best for the job of cleaning your walls.
Can you clean walls with bleach?
Even if you’re thinking of painting over your walls, there’s no reason to clean them with bleach, which is far too harsh for most circumstances. The main exception to this rule comes when you’re trying to remove mould and mildew.
Can you clean walls with vinegar?
Vinegar is a popular choice for cleaning glass, as the acid content helps to eat away any tiny dirt particles which might have settled on the surface. A few tablespoons of distilled white vinegar into a bucket of water make a great solution for cleaning walls, too – just make sure you test the concentration on a small area of wall before covering the whole thing.
Can you clean walls with baking soda?
Baking soda works well for breaking up stubborn stains that can’t be shifted through traditional means. Mix it up with water to create a rough paste and rub the result into the stain. Allow it to soak for a few hours, and then wipe clean with a damp cloth. It should take most of the stain along with it.
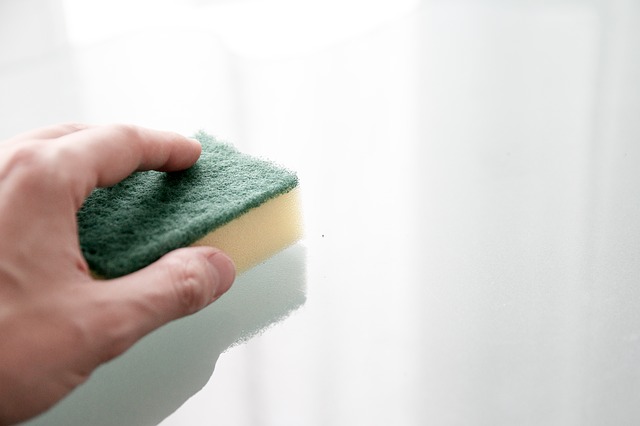
Can you clean walls with a mop?
While you might think that cleaning a wall with a mop would make the task much easier and faster, this isn’t actually the case. The problem is that a mop absorbs far too much water; it’s built, after all, to be squashed against smooth surfaces. If you use it on a wall, you won’t get the same ‘gliding’ effect that you do on a polished floor, and the chances are that you’ll damage the wall in the process. Use a sponge instead.
The Best Way to Clean Walls: Step by Step
We’ve dealt with a few specific materials and circumstances. But what about everyday cleaning? Let’s run through how to clean walls – and without stripping paint or leaving unsightly marks.
Vacuuming
For the most part, wall-cleaning shouldn’t involve liquids of any kind, but the brush attachment on your vacuum-cleaner. Run it across the surface, paying special attention to any corners where dead insects and cobwebs might have begun to form. This should be the first step to prepare your wall for a wet clean, but it’s also a quick way to keep dust and dirt at bay on a monthly basis.
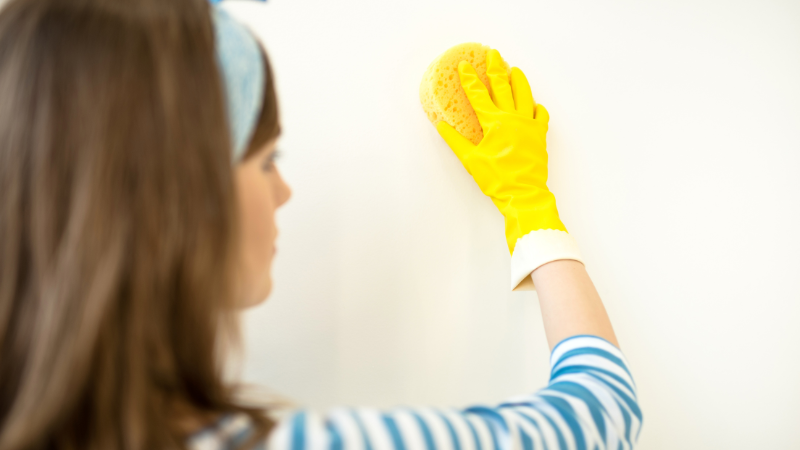
Sponge-cleaning
Once or twice a year, it’s worth going a stage further and treating the walls to a deep clean with a damp sponge. If the wall is painted with a matt emulsion, then warm water might well be sufficient. You don’t want to use too much of it – if it soaks into the plaster, it may cause the paint to peel prematurely. Wring the sponge out so that it’s almost dry before applying it to the walls, and don’t scrub too hard.
If you’re cleaning a silk-painted or tiled surface, you can break out the more aggressive cleaning solutions we’ve already discussed. Cleaning in this way will inevitably reduce the lifespan of a coat of paint, which makes it worth applying a refresher coat every few years (or whenever you decide to redecorate). While semi-gloss surfaces are more durable than matt ones, they can still be scratched – so be careful!
Spot-cleaning
As part of your wet cleaning, you should be on the lookout for any imperfections or marks caused by dirty fingerprints. If you notice these when they appear, then wipe them away as soon as possible. Where damage is more severe, you might have to apply filler, sand, clean, and then re-paint the affected area. This is where the paint you left over from the original decoration might come in handy – but if you don’t have the paint to hand, you can colour-match an existing piece of wall at a DIY shop with the proper facilities.
In Conclusion
Cleaning a wall isn’t something that you need to do all that often – but it’s worth the effort in the long-term. Make a deep-clean part of your annual spring-cleaning efforts, and spot-clean any obvious stains as and when they’re noticed.