From an aesthetic perspective, there are few components of your home as important as your front door. It’s the first thing your guests will encounter when they come to visit, and for that reason, it deserves the occasional lick of paint. We should also consider that refreshing the finish on your front door will help to protect it from the changes in moisture, temperature, and pressure over the years – and thus it’s worth being proactive in your front door renovations!
We’ll start by running through a few tips for painting the front door and move onto some hardware considerations a little later.
Top Tips for Painting and Finishing
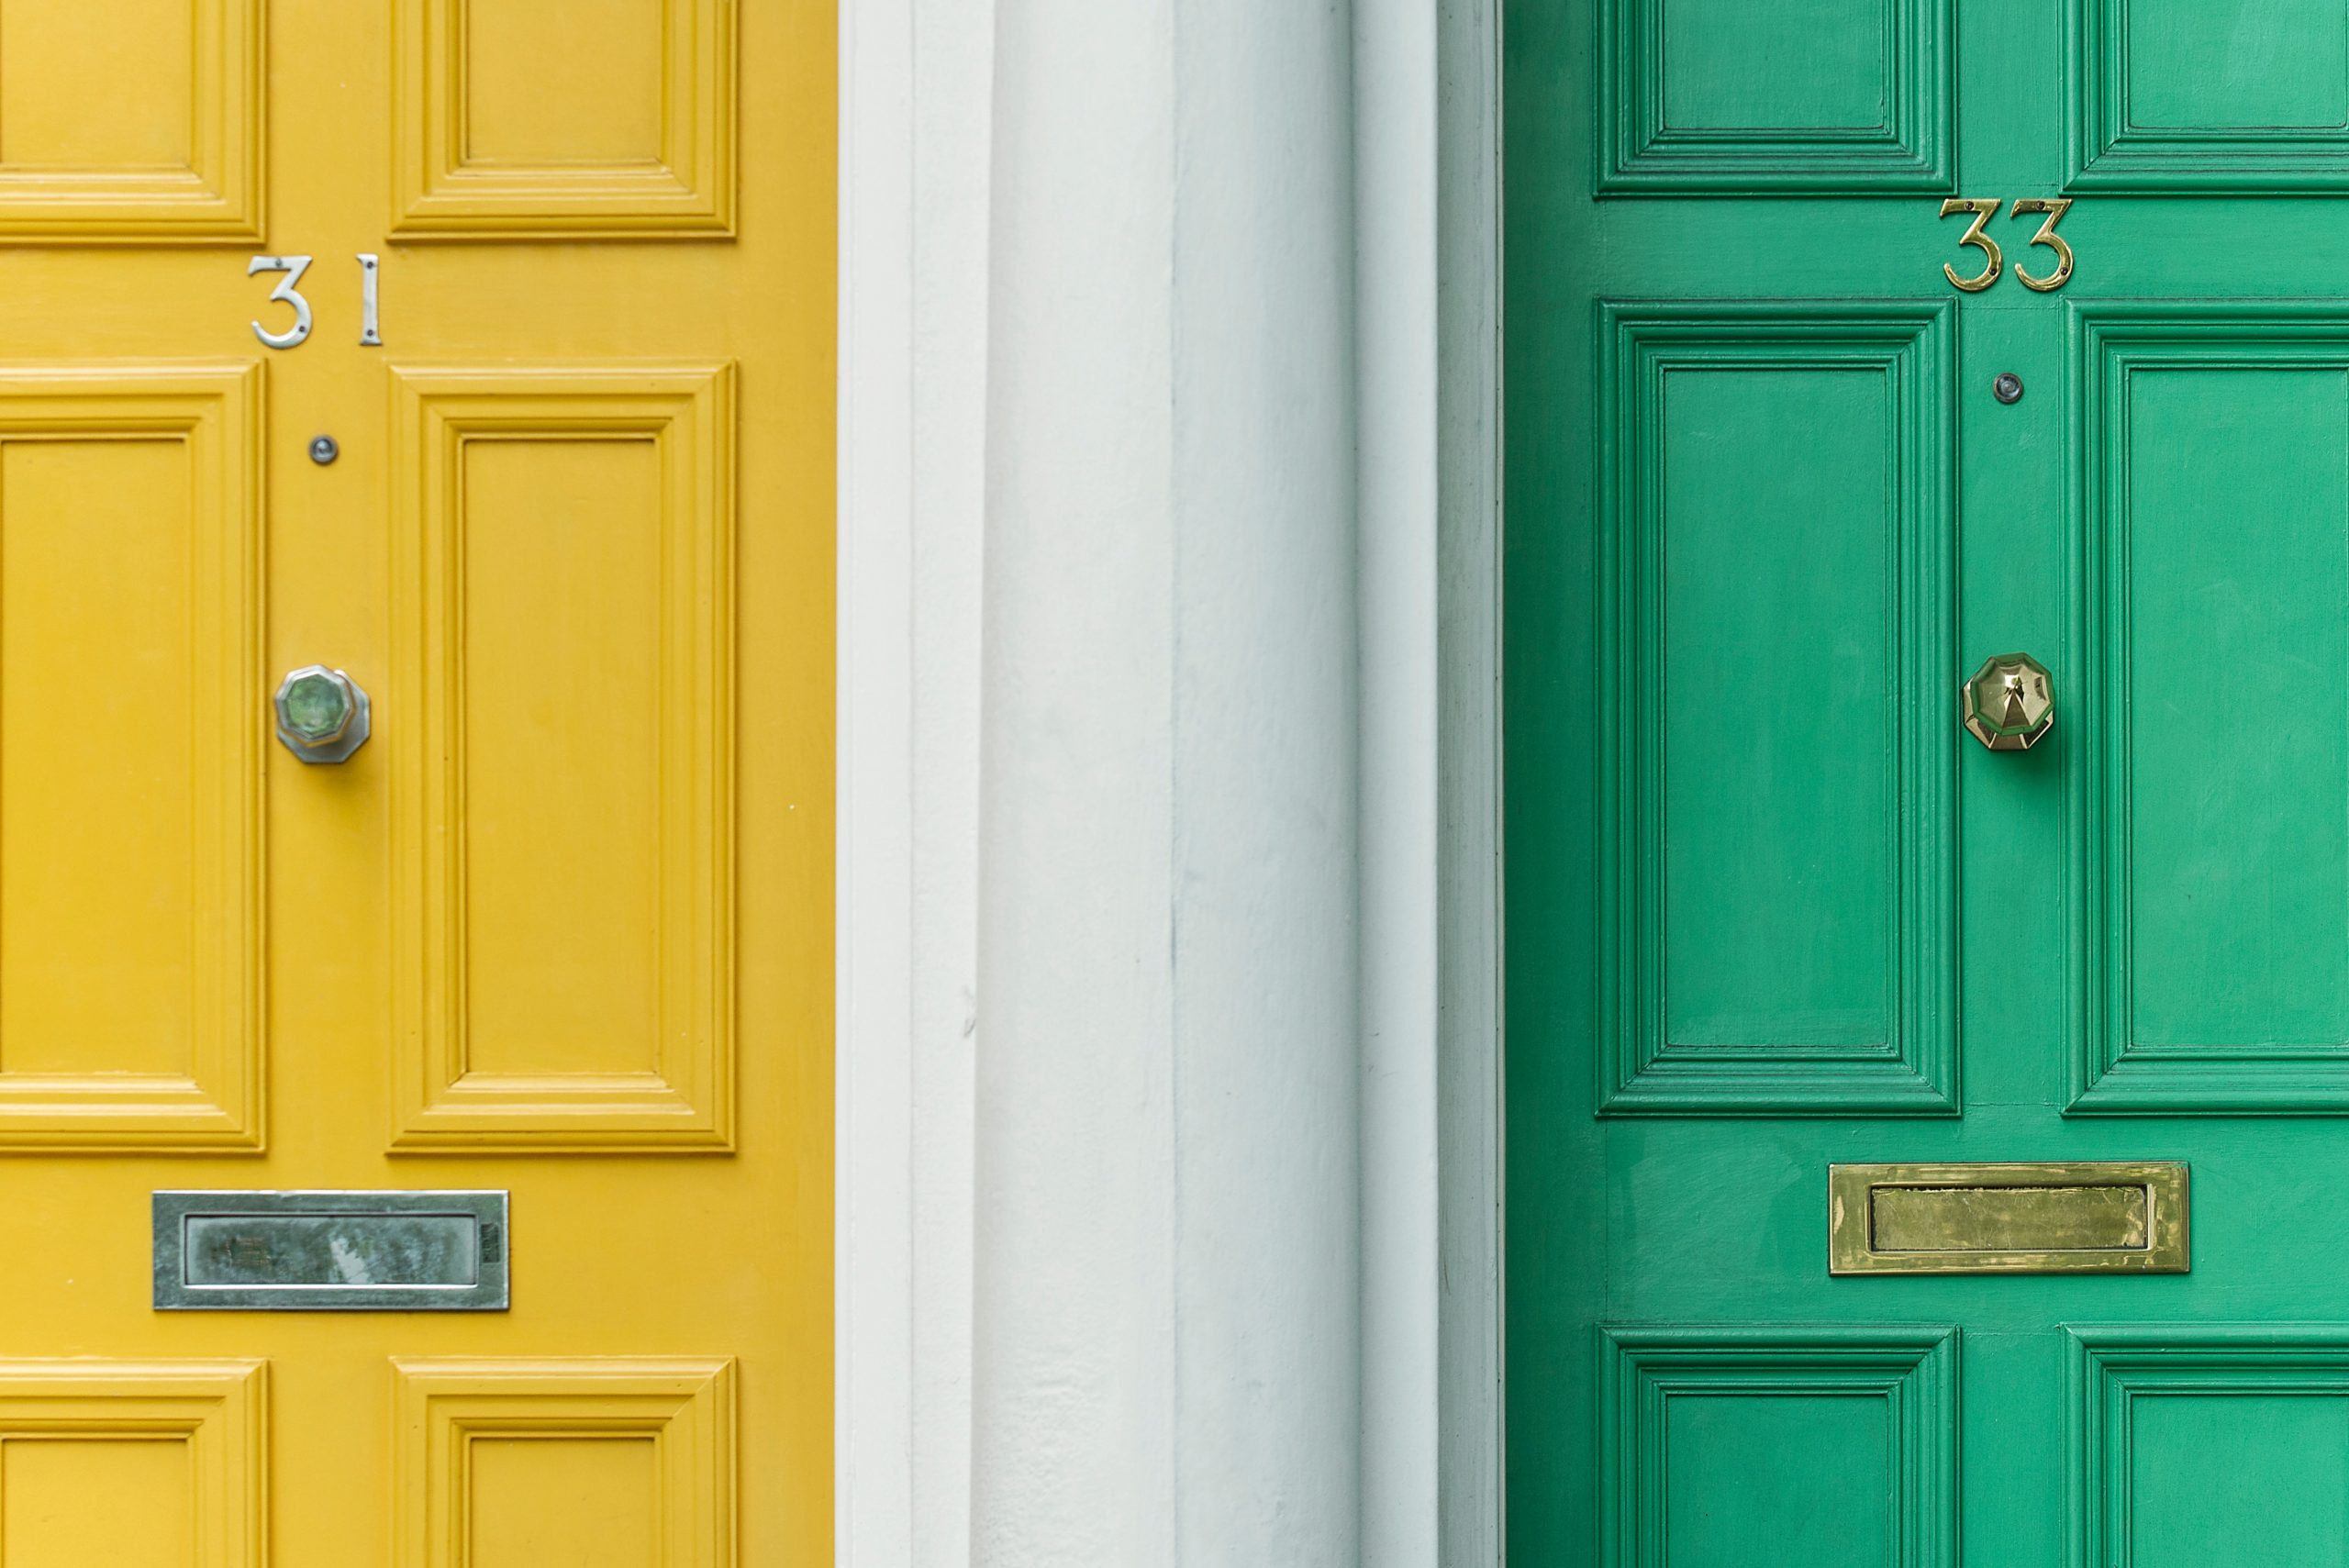
Photo by Christian Stahl on Unsplash
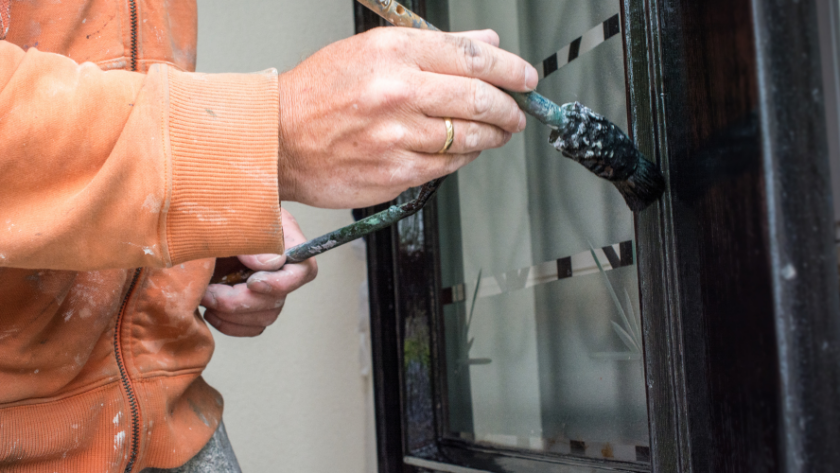
So what’s the best way to paint a front door? The answer is very carefully, in multiple layers. Our final coat is going to be a glossy finish of the sort that will bring the best from the material, look fantastic and repel the elements.
Unfortunately, glossy coats of this sort tend to show up any minor imperfections in the underlying surface. For this reason, you’ll want to proceed carefully, applying a thin layer of paint before sanding smooth, applying another, cleaning up and repeating.
Let’s think about how we might do this. Before we get started painting a wooden door, we’ll want to sand off the existing top coat. Do this by hand, as an electric sander can run fast enough to melt the paint, which will be irritating to fix. Fill in any gaps with wood-filler before sanding smooth. You can then apply an undercoat. A primer will improve adhesion and smooth out any discolouration. It’ll also prevent moisture from soaking through the door, which will, in turn, reduce the likelihood of bubbling and flaking later on. To avoid brush-marks, we’d suggest applying your paint using a roller – you can get small ones very cheaply; they’re invaluable when it comes to detailing on doors, as well as sealing up torn drywall.
How long should we leave the door before repainting? It depends on the temperature, but we’d suggest 24 hours as a conservative drying time. Between coats, you’ll want to use a very fine wet-and-dry sandpaper. We’d suggest a grit of 180 (or higher) if you want to make things super-smooth.
Use a sanding sponge (it’ll deform to the contours of the surface) and look for something that’s clog-resistant. It’s important to clean away any dust using a damp sponge before move onto the next coat. That way you won’t have any noticeable grit showing up under the gloss. To get a mirror-finish, you’ll need to apply multiple coats of undercoat, sanding between each one.
When you’re satisfied with the undercoat, it’s time to apply your gloss finish. You might find again that multiple coats of gloss yield the best results.
Hardware Updates

As well as the door itself, you’ll also want to change all of the hardware that comes attached to it if you really want to update its look. That means handles, hinges, house numbers, and letterboxes. Let’s take a look at each of them in turn.
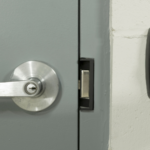
Handles
Replacing your front door handle is a great way to update the look of the door, and it’s easy to do, too. You’ll need to ensure that they cover up any marks left by the previous fixing, however. If you’ve already refinished the entire door, this shouldn’t be a problem – which is why it’s best to do your front-door renovations all in one go.
If you’re replacing the latch as well as the handle, then try to get a replacement that’s slightly larger than the old one. That way you can be sure that it’ll cover any gap that’s been morticed away to accommodate the last latch. You’ll also want to match your spindle and backset (that’s the distance from the centre of the spindle to the door’s edge) to the ones being replaced. It’s always easier to go like-for-like in terms of size and shape, particularly when it comes to non-visible components.
Hinges
If your front door comes with three hinges, then you’ll be able to replace them one-by-one without removing the front door. Again, you’ll want to shop for hinges that match the size of the ones you’re replacing. If you don’t, then the chances are strong that you’ll need to widen the mortise in order to accommodate the new ones. That’s the sort of painstaking work you’ll want to avoid wherever possible.
The topmost hinge is the one that carries most of the weight of the door. As such, you’ll want to ensure that the weight of the door is supported when you’re removing it. Otherwise, you’ll transfer that weight onto the other hinges, and potentially damage them and the surrounding frame. Before you secure your new hinges in place, make sure that they’re the right way up, and that they’re aligned with your existing screws.
Once you’ve got all of your hinges replaced, we’d suggest coating them in a protective lubricant. This will protect them against mechanical wear-and-tear, and ensure that it’ll be a long time before you need to replace them again!
House Number
Your house number is a little bit different in that it isn’t a functional part of the door, and therefore doesn’t actually need to be part of it. You might, therefore, relocate your house number to somewhere else nearby. The only problem being that, once you’ve done so, you’ll be left with a mark on the door where the numbers once were. Whether it’s on your door or not, you’ll want the number to look great alongside your newly renovated door, so it’s best to choose something that goes well with your new colour scheme.
Letterboxes
A letterbox is little more than a fancy flap covering a hole in your door. Replacing it is a simple matter of unscrewing the old one and screwing the new one back in its place – that is, unless it’s been affixed in place with silicone. In that case, you’ll need to break out a sharp knife and cut the glue away. Letterboxes tend to come in three different sizes: 10”, 12” and a super-slim version for letters. But even if you’ve measured carefully, you might find a visible border around your new letterbox where the old one was sat.
Renovating your front door is a fairly simple task that shouldn’t take you too long. You’ll enjoy the benefits every time you return home, so it’s well worth doing. Why not freshen up your front door for the new year?