Front door cameras are getting smaller and more affordable every year. They help to secure the home, see who’s calling when you aren’t in, and lower your insurance bill. Getting one installed doesn’t require professional help (though you’re free to go down that route if you’d prefer to keep things quick and convenient). If you’re looking to get it done yourself, then read on: in this article, we’ll look at how to set up a front door camera.
Pre-purchase planning
Before investing in your camera, it’s worth assessing your options and seeing which makes the best match for your needs. Come up with a checklist and decide what features you need. A wireless camera is going to make installation that little bit more painless, but it’ll need a battery. You’ll also need to decide whether you’re storing your footage remotely, or locally. If it’s the latter, you’ll need somewhere to keep all of the data – this usually comes in the form of a dedicated device called a Digital Video Recorder.
Generally speaking, a bundle comprising several cameras and a DVR is going to be more affordable than buying each device separately – so, if you’re looking to invest in cameras throughout the home, it’s worth considering buying lots of them at the same time.
Assembling tools
Let’s assume that you’re planning a wired setup.
- Ethernet cable
- A drill with a selection of bits
- Steel fish tape
- Masking tape
- A volunteer
- A monitor, keyboard and mouse
If you’ve bought analogue cameras, then you’ll need a means of converting the output into a digital one that can be transmitted along your Ethernet cable.
Planning locations
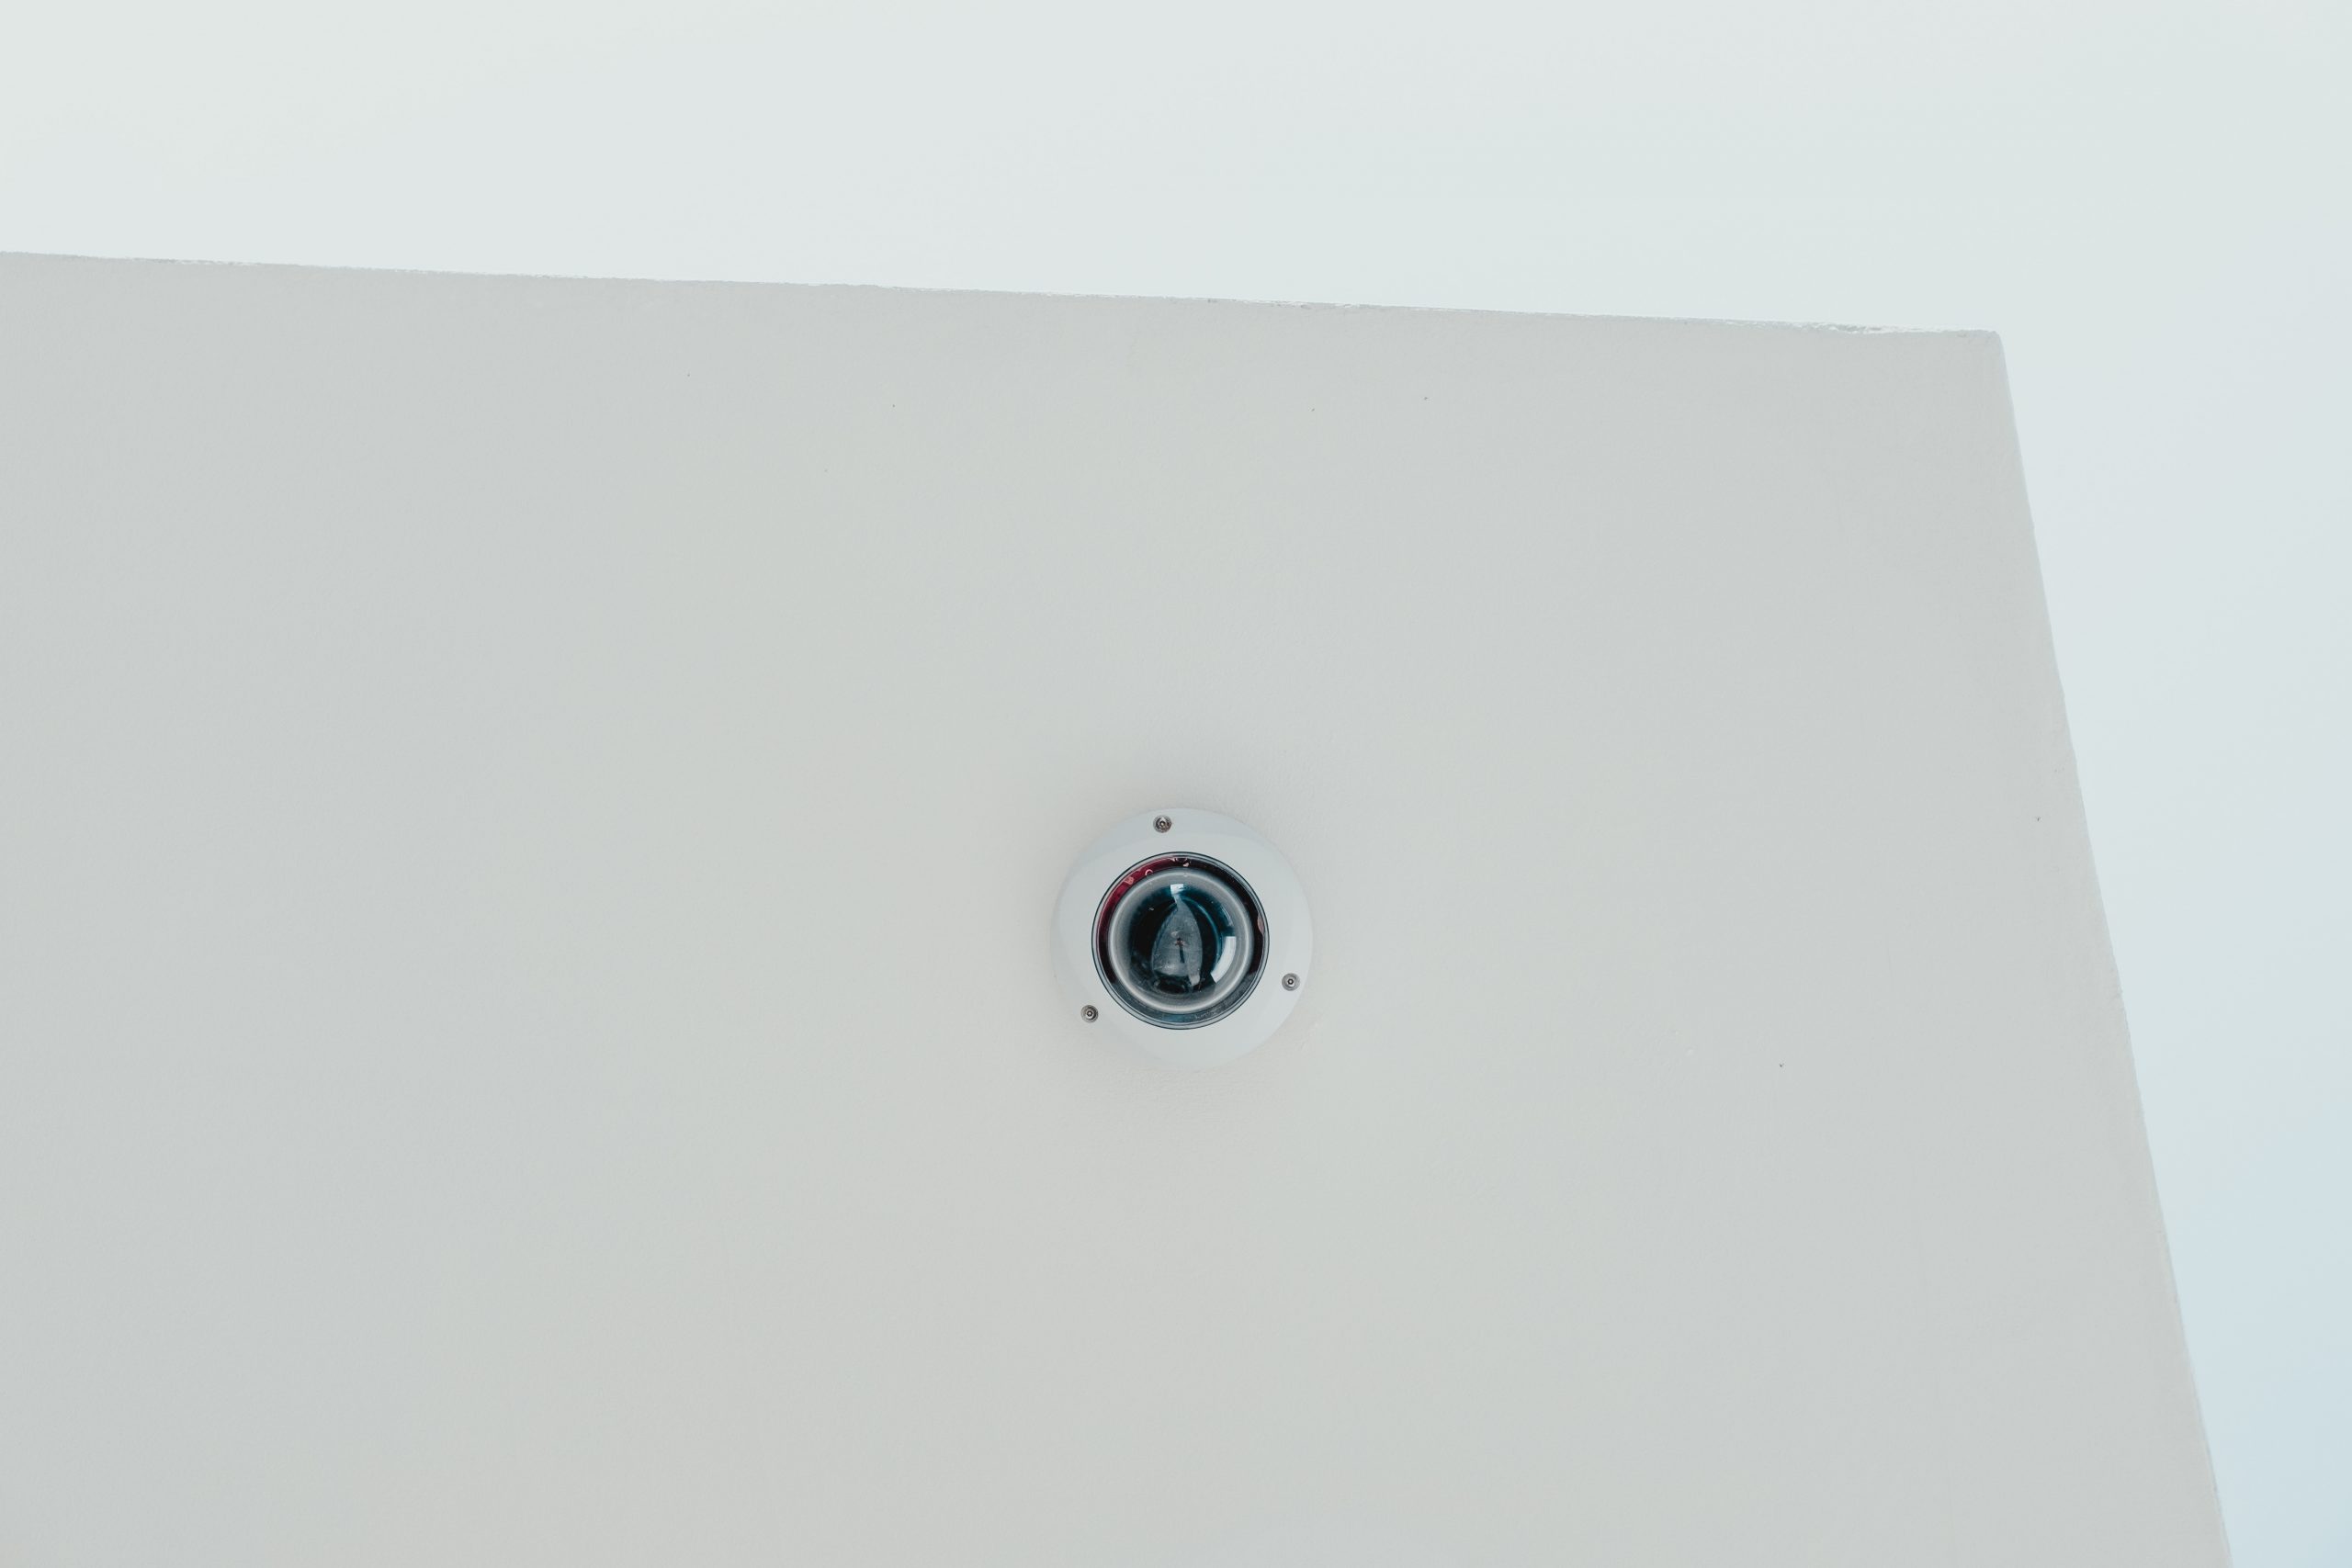
Photo by Bernard Hermant on Unsplash
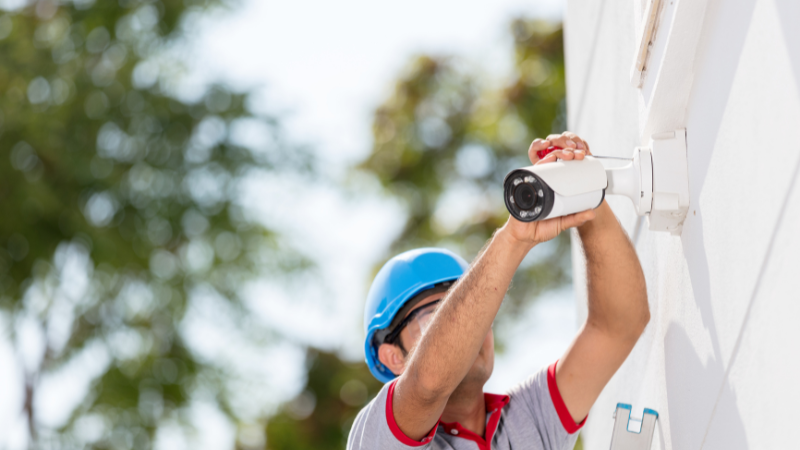
It might seem obvious where to install a front door camera: the front door, right? Choose mounting locations which offer the widest possible view of the area under surveillance. Cameras should go in the very corner of the room they’re sited in. In the case of external cameras, you’ll want to ensure they’re out of reach of vandals – ten feet in the air is usually a good benchmark.
If you’re going to fix it to the plasterboard ceiling of your porch, then you’ll get away with an ordinary power drill. If you’re drilling into masonry, then you’ll need a hammer drill with a masonry bit.
Think about the location of your DVR. If it’s on the other side of the house to your camera, then you’ll need to thread cable through multiple walls and floor spaces. If the joists are facing the wrong way, you may need to drill through them. As such, garages and lofts make great locations for DVR hubs; there, you’ll be able to thread wiring through the middle of the room.
Drilling Holes
Your cameras will usually come with a template which you can use to plan your location. Once you’ve stuck it onto the wall (or ceiling) you can start drilling. You’re going to have multiple small ‘mounting holes’ around the edge of the installation, and then a single larger one in the centre. It’s this larger one that you’ll be threading cabling through.
Different cameras come with different mounting arrangements, so be sure to check the instructions that come with yours to see exactly what size bits you’re going to be using.
Threading cables
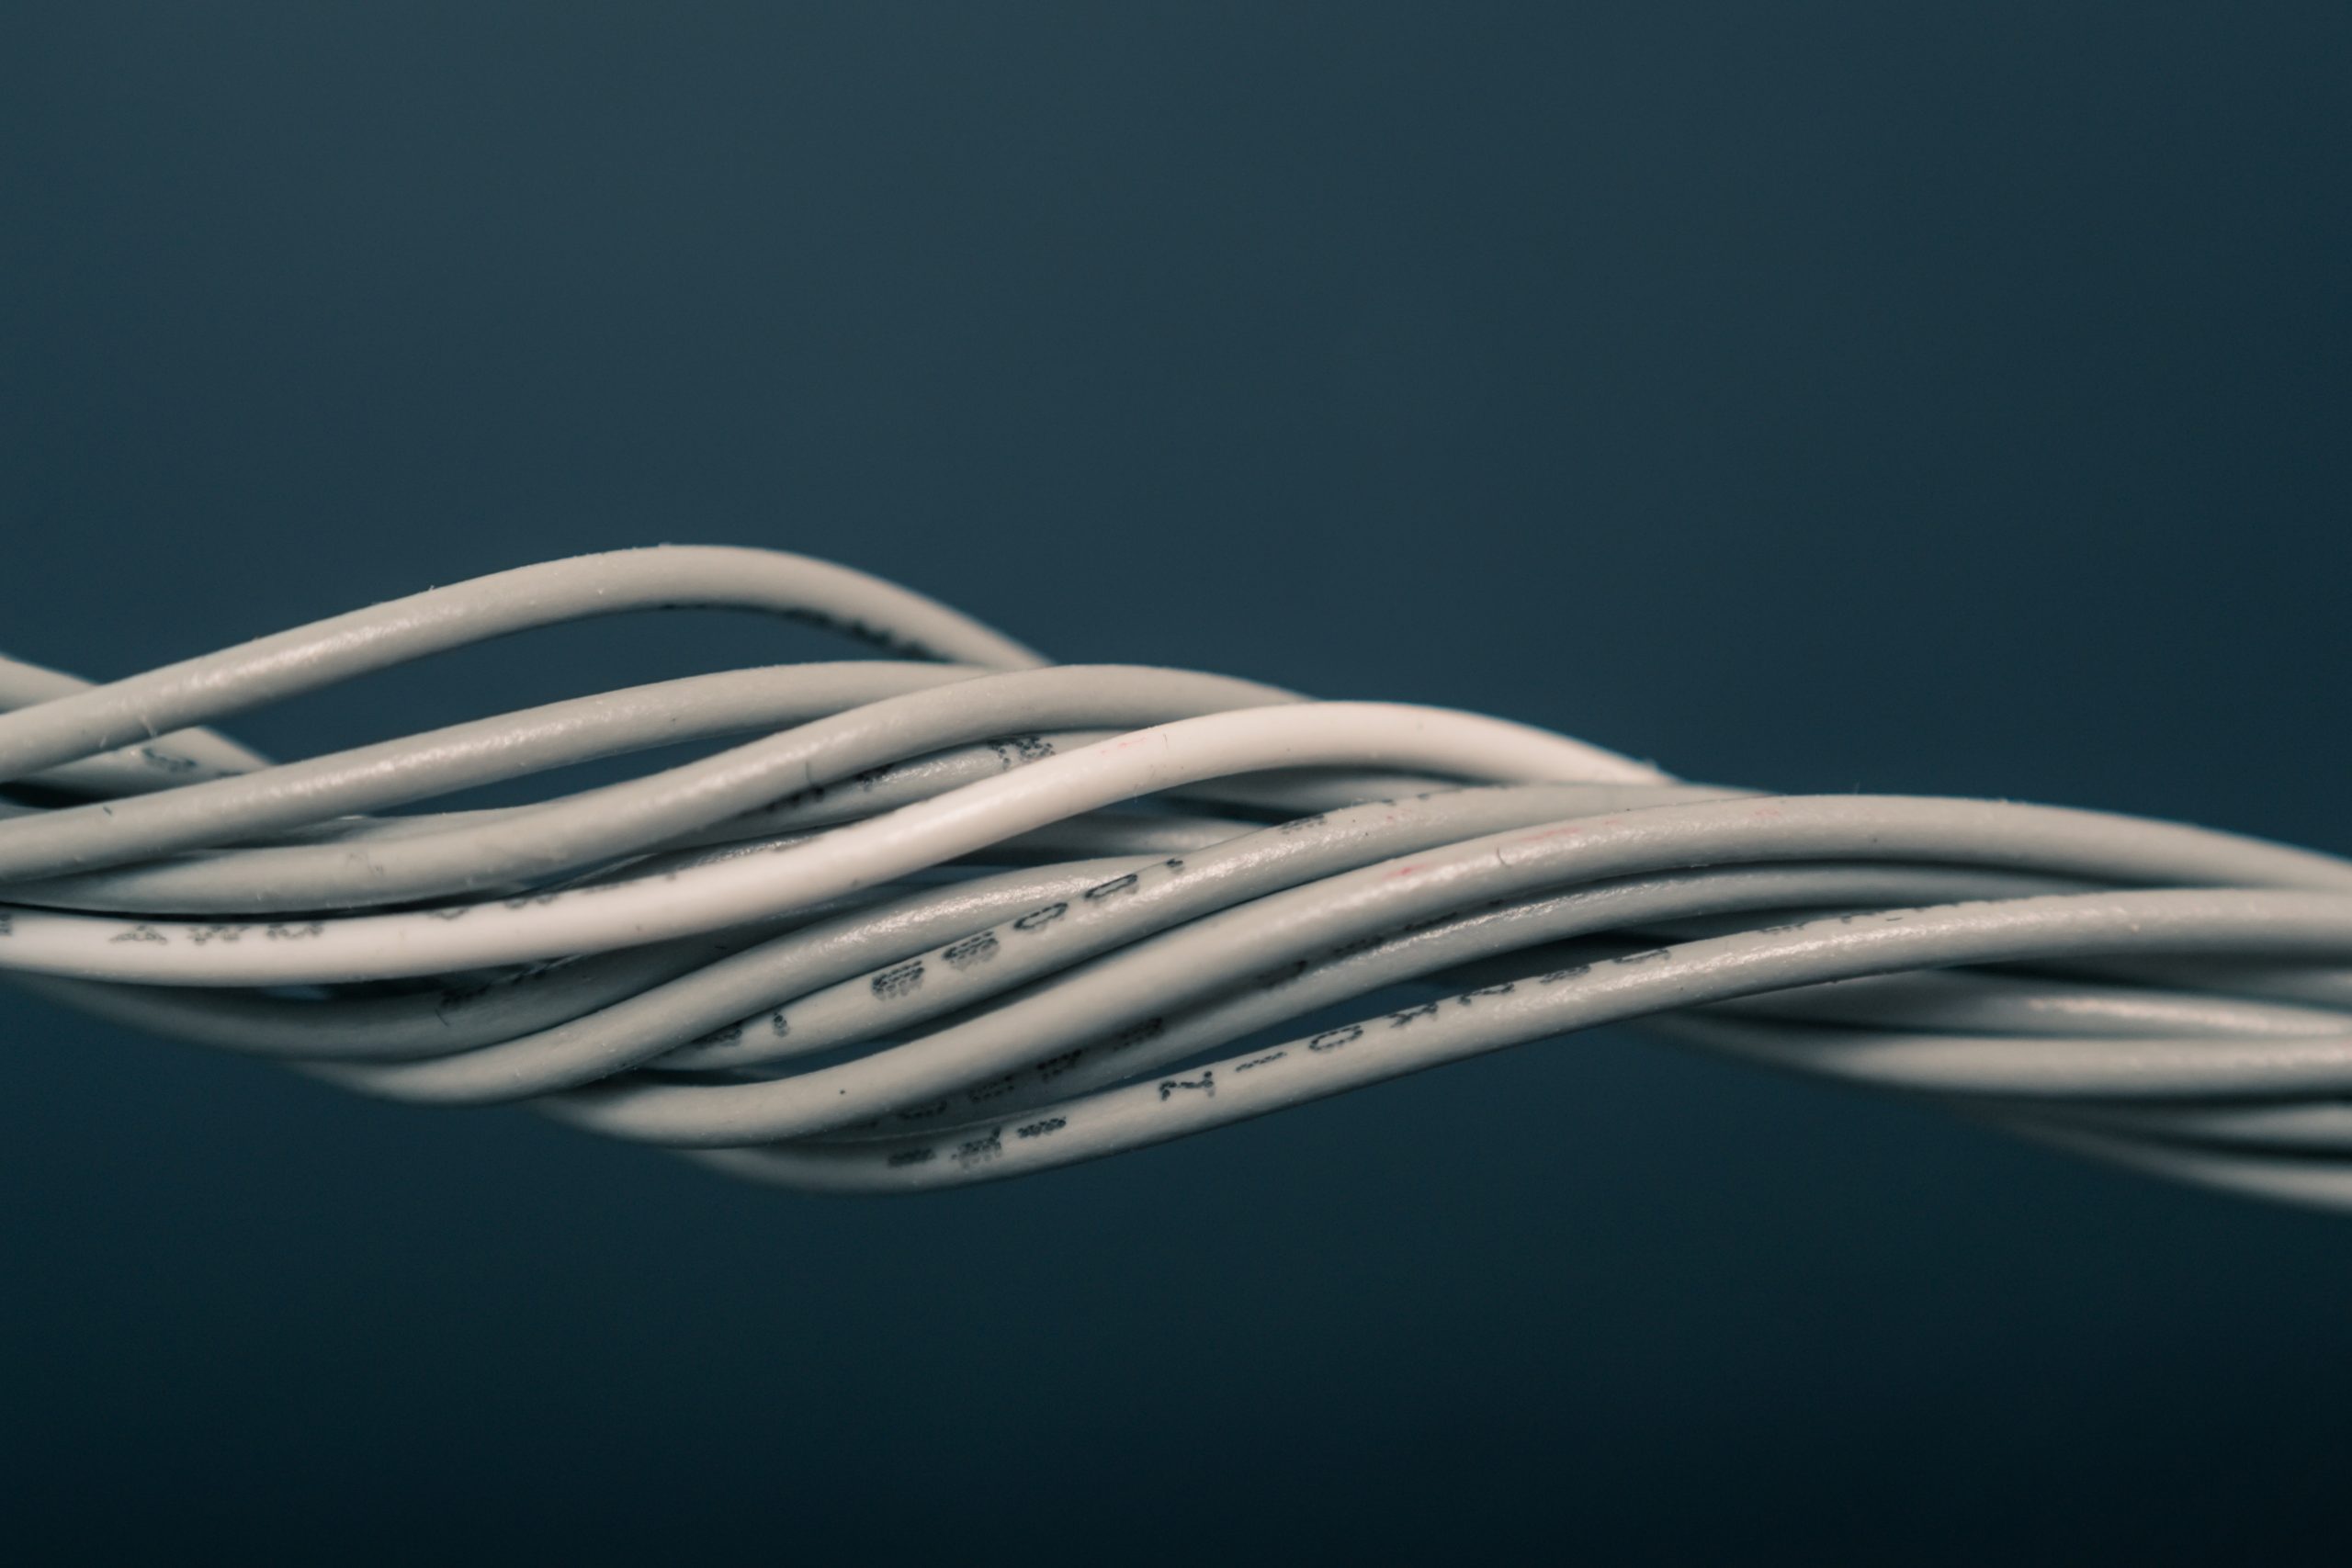
Photo by Steve Johnson on Unsplash
To thread cables, you’re going to be using something called fish tape. This is a roll of rigid wire that you’ll be able to run up through the hole you’ve drilled to where your cabling is. You can then tape the Ethernet cable to the other end and pull it down to where your camera is going to be. As every electrician knows, this task is a great deal easier with the help of a friend. They’ll be there to recognise when the cable is getting tangled and tell you when to stop pulling.
Fish-tape isn’t the only way of doing this job. You can also use a series of interconnecting flexible rods, usually called a cable access kit. Threading the cables is assuredly the most difficult part of the job. If you’re using super-fat cat 7 or 8 cabling, then you’ll struggle to bend it round awkward corners. As such, we’d suggest sticking with cat5e – it’s more than sufficient.
If you’re buying looms of cabling and then crimping it once it’s cut to length, then you may save money, as you’ll be able to get the cabling precisely as long as it needs to be. Bear in mind, however, that crimping is a pretty fiddly task, and you’ll need a special crimping tool to get it done.
Cameras and DVRs often come with BNC (that’s Bayonet Neil-Concelman) analogue connectors. These do much the same job as traditional Ethernet cables, and if both devices are analogue, it makes sense to use them rather than network cabling. This will save you the trouble of bothering with lots of separate, fiddly converter boxes.
DVR
Next, we’re going to set up our recording device in a suitably central location. You can think of your DVR as a kind of specialised desktop computer, to which you’ll need to connect a monitor, a keyboard and mouse. Certain sorts of video recorders are able to connect to your home-network and can be accessed via smartphones and other computers. These are called NVRs and make life convenient if you need to access your front door camera remotely.
Connecting Everything
Once you have the cabling in place and the connectors installed, it’s time to get the whole thing connected. Where connections are made outside the housing of the camera, we’d suggest using electrical tape to keep everything secure. This will prevent connections from slipping loose while they’re inaccessible. It’s worth checking that everything’s working before you start screwing cameras into position, as this will save you the hassle of unscrewing everything when you come to troubleshoot.
In Conclusion
Wiring up a home security camera is something you can do yourself to save money. There’s limited chance of disaster if things go wrong, and you’ll have a more secure connection that can’t be tapped into in the same way as your wireless home network. All it takes is a little patience and a little bit of cabling!