A step by step guide to how to fit door handles
More and more homeowners are choosing to try their hands at DIY these days, but even deceptively simple tasks such as fitting interior door handles can come across to the inexperienced and butter fingered amongst us as completely bewildering. If your door handle has started to sag or creak though it might very well need replacing and here we’ve compiled an idiot-proof guide to help even the most hopeless ‘DIYers’.
What tools will I need?
Pencil or Pen, Hammer, Screwdriver with various heads, Wood Chisel, Tape Measure, Drill, Spade bit, Drill bits, Set Square, Dust Sheets, Tape.
What materials will I need?
A door handle kit, Door Wedges, Latch.

The Steps
Measuring
They always say ‘measure twice and cut once’ and the same is true here. Your measurements and markings are a vital first step that you really want to get spot on. Lay down your dust sheets (it’s probably going to get quite messy) and start by taking your door wedges and using them to secure your door then use your tape measure from the bottom of the door to guide where you want your handle to sit. Mark it using the set square and pencil or pen and draw a line around the entirety of the door (both sides). This will be used as a guide to make sure that your door handle is straight.
Latching and Drilling
Put the latch against the spade bit and mark the depth that you want to latch to go then mark it with a small piece of tape. This will act as a guide for your drill. Next, use the marked line of the edge of the door as a starting point and start up your drill, stopping when the drill bit reaches the piece of tape. You should now have a hole of perfect size and depth to place your latch so do just that next and use the pencil to mark around the outside. Remove it and use your hammer and chisel to cut out enough wood so that the latch plate can lay flat against the door.
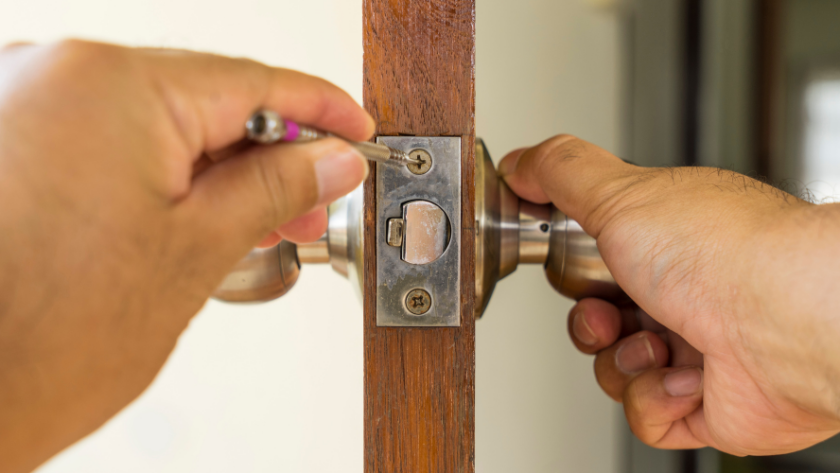
The Handle
Mark through the holes in the latch were you want your door handle or knob to sit and then drill all the way through your internal door until that point (where the tip of the drill bit it just about sticking out the other side of the door). Drill through the other side so that the holes join together. Bingo! You’ve got yourself a handle hole! Next, put the latch plate back onto the door and screw it in using your screwdriver and the screws provided in the kit and put the handle or knob in through the side of the latch. Tighten it on both sides and use a smaller drill bit to drill holes for the handle.

The Latch Plate
We’re coming into the home stretch now. Close your door and mark the latch position on the door frame. Place your latch in position and draw around the outside of it, making exact measurements with your set square and tape measure. Use your hammer and chisel to once again even out the hole and make sure your plate sits flush with the door frame and secure the latch plate with the supplied screws. Finally mark where the middle of your latch plate goes into the door frame, remove the plate once more and chisel it out. Screw the latch plate on for a final time and test it.
Congratulations! You should now have a functional door handle. Doesn’t it feel so much more satisfying to have done it yourself?